The Complete Guide to Installing an Egress Window in Your Basement
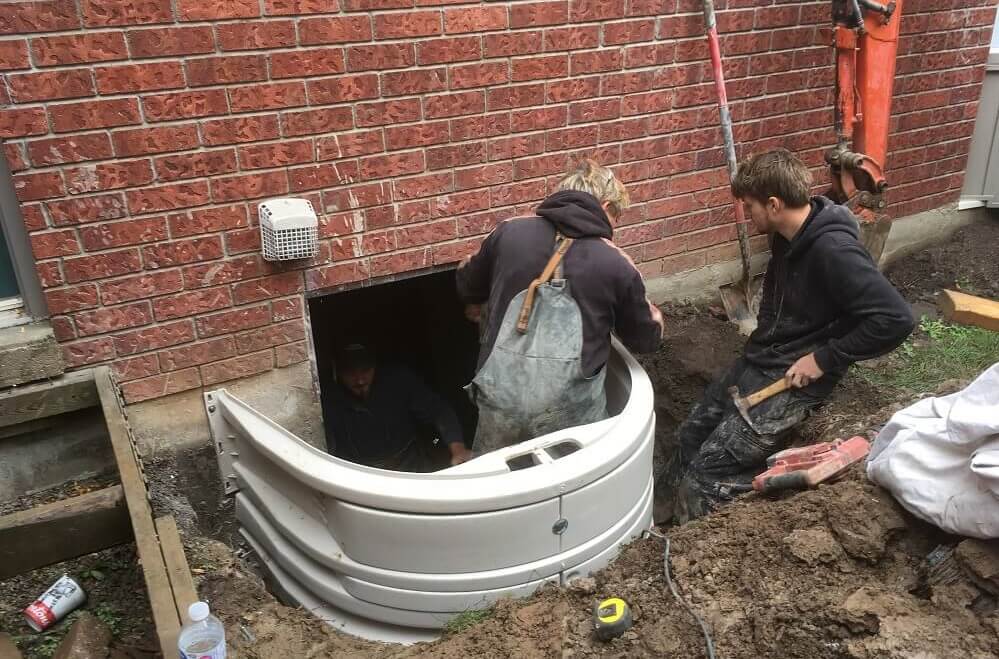
An egress window is more than just a pane of glass; it’s a crucial safety feature, a source of natural light, and a key to unlocking the full potential of your basement. Whether you’re planning a basement renovation to add new living space, or simply looking to enhance basement safety, understanding the intricacies of egress window installation is paramount. This guide will walk you through everything you need to know, from building code requirements to the installation process and the benefits of a professional approach.
What is an Egress Window and Why Do You Need One?
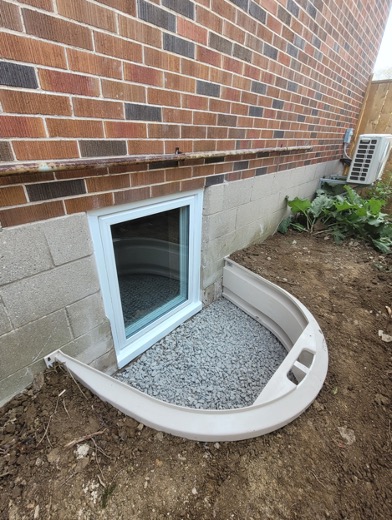
An egress window serves as an emergency exit from a basement. In the event of a fire or other emergency, it provides a safe and accessible escape route, which is vital for the safety of anyone occupying the basement, especially if it’s used as a bedroom or a habitable living area. This critical safety feature is mandated by building codes in many jurisdictions to ensure occupant well-being.
Beyond its life-saving function, an egress window dramatically transforms a basement. It ushers in abundant natural light, transforming a once dim and often dreary space into one that feels open, inviting, and more integrated with the rest of your home. Improved ventilation is another significant benefit, helping to mitigate humidity and reduce the risk of mold and mildew growth, contributing to a healthier living environment.
Understanding Ontario Building Code Requirements for Egress Windows
In Ontario, building code requirements for egress windows are stringent due to their role as emergency exits. If you plan to add a bedroom or habitable living space to your basement, an egress window is not just a recommendation—it’s a necessity. Every bedroom in a home must have an egress window that meets specific criteria to ensure a safe and unobstructed escape.
Minimum Size and Opening Dimensions
The Ontario Building Code outlines clear specifications for egress window openings to guarantee they are large enough for an adult to pass through easily. Key requirements include:
Ease of Operation: The window must be operable from the inside without the use of tools, special knowledge, or excessive force. It needs to open smoothly and quickly in an emergency.
Clear Opening Area: The clear opening area of the window (when fully open) must be at least 0.35 square meters (approximately 5.7 square feet).
Minimum Dimensions: Both the height and the width of the clear opening must be at least 30 mm (approximately 20 inches wide and 24 inches high, although some regulations specify 24 inches width and 20 inches height – it’s crucial that both dimensions meet or exceed the minimum).
Self-Supporting: Once opened, the window must be capable of staying open on its own without requiring additional support, allowing for a clear and continuous escape path.
Window Well Size and Drainage Rules
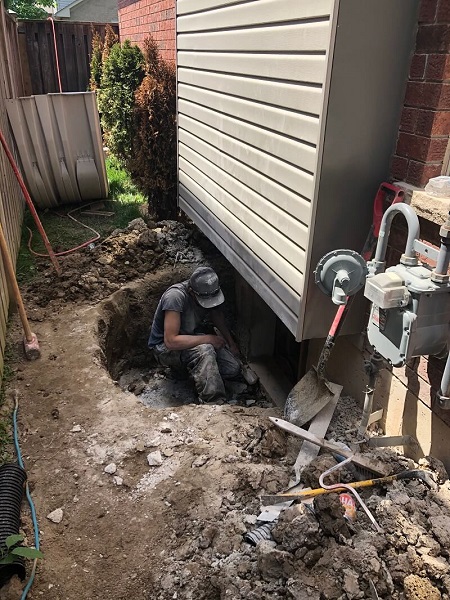
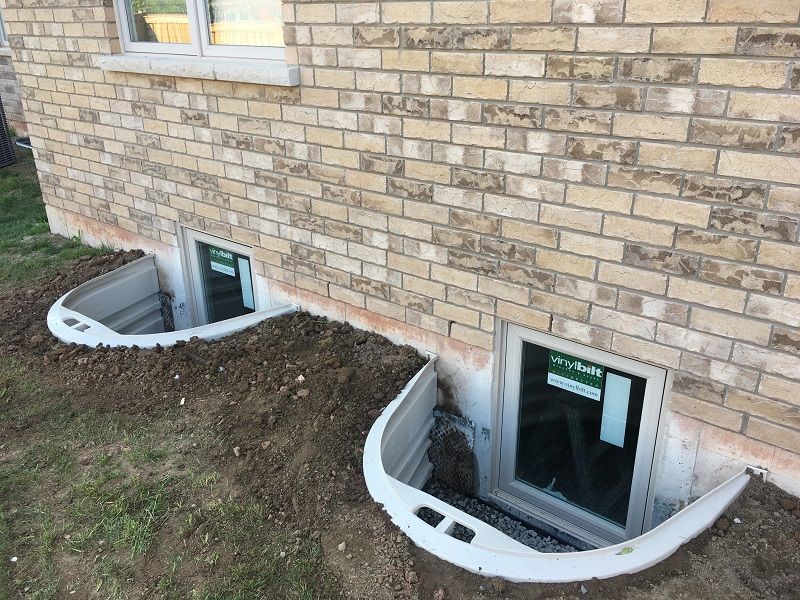
For basement egress windows where the bottom of the window is below ground level, a window well is essential. This well creates the necessary clear space outside the window and is critical for both safety and proper drainage.
Clearance:There must be a minimum of 550 mm (approximately 21.6 inches) of clear space between the window and the window well. Some codes may require a larger space, such as 36 inches in width and 36 inches in projection from the foundation wall, or a minimum of 9 square feet of clear area within the well. This space ensures occupants can fully open the window and exit safely.
Window Well Covers: If a window well has a cover or grate, it must be easily removable from the inside without tools or special knowledge, ensuring it doesn’t impede an emergency exit.
Drainage: Proper drainage is paramount to prevent water accumulation in the window well, which can lead to leaks, foundation damage, and unhealthy living conditions in your basement. A well-designed system typically includes:
- Two 4-inch perforated weeping tiles installed vertically from the drain layer (usually at the bottom of the well) up to the window sill.
- Tiles that are backfilled with 3/4-inch clear stone, which allows water to percolate down and away from the foundation.
For more information on proper window well and drainage solutions, you can visit here.
Height from the Floor
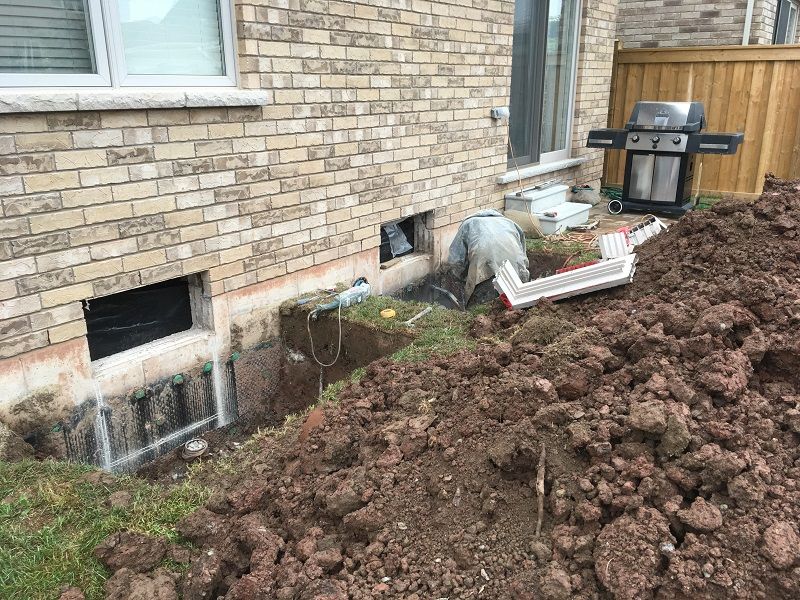
The sill height of an egress window (the bottom of the window opening) plays a critical role in accessibility during an emergency. The Ontario Building Code stipulates that the sill height cannot be more than one meter (approximately 39.37 inches, though some sources suggest 44 inches) from the finished floor. This ensures that even young children or individuals with mobility challenges can easily reach and operate the window. You can read more about egress window codes here.
The Egress Window Installation Process: A Step-by-Step Overview
Installing an egress window is a significant home improvement project that involves excavation, structural modifications, and careful attention to detail to ensure code compliance and long-term durability. While some skilled DIY enthusiasts might consider tackling parts of the project, many steps are best left to professionals.
Step 1: Planning and Obtaining Permits
The success of your egress window installation hinges on thorough planning. This initial phase involves:
Consultation: Engaging with a professional contractor or local building authorities to understand specific local building codes and to help identify the optimal location for your new egress window. Factors like your home’s existing architecture, interior room layout, exterior landscaping, and the presence of underground utilities (water, sewer, gas lines) must be carefully considered.
Utility Locates: Before any digging begins, always call to have underground utilities located and marked. Digging without this crucial step can be extremely dangerous and lead to severe damage or injury. In Ontario, the company to call is Ontario One Call.
Permits: Obtaining all necessary building permits and excavation permits from your local municipality is non-negotiable. Failure to do so can result in fines, project delays, or even the requirement to undo completed work. A professional installer will typically handle this complex process.
Step 2: Excavation and Cutting the Foundation
This is arguably the most demanding and critical phase of the installation:
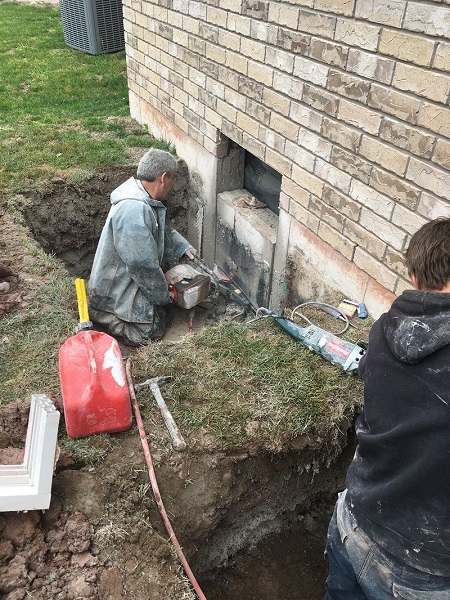
Excavation: A significant amount of excavation is required outside the foundation wall to create space for the window well. The hole must be deep enough to accommodate the full height of the window well and allow for proper drainage at its base. Planning for the disposal of excavated dirt is also important.
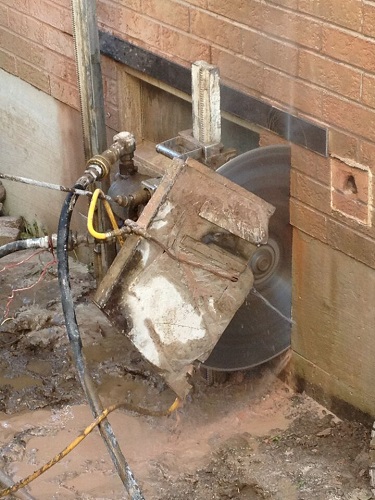
Cutting the Foundation: Using specialized equipment, typically a concrete saw, a precise opening is cut into your basement’s foundation wall. This step requires immense precision and expertise, as improper cutting can compromise your home’s structural integrity. This is where professional installation truly shines, as experienced contractors possess the tools and knowledge to perform this safely and effectively.
Step 3: Framing and Installing the Window
Once the opening is created, the next steps involve preparing it for the new window:
Framing: A robust frame made of pressure-treated lumber is installed within the rough opening. This frame must be perfectly level, plumb, and square to ensure the window fits correctly and operates smoothly. It is secured to the foundation using strong concrete anchors and construction adhesive.
Window Installation: The egress window unit is then carefully placed into the framed opening. Following the manufacturer’s instructions, the window is leveled, plumbed, and secured to the frame with appropriate fasteners.
Sealing: A waterproof sealant is applied meticulously around the edges of the window to prevent water infiltration. Low-expanding foam and insulation are then applied in the gaps around the window frame to provide thermal insulation and further seal against moisture.
Operation Check: The window is opened and closed to ensure it operates properly and can open fully to meet egress code requirements.
Caulking: A final bead of caulk is applied around the window to create a weather-tight seal.
Step 4: Installing the Window Well and Drainage
This step is crucial for managing water around the basement window:
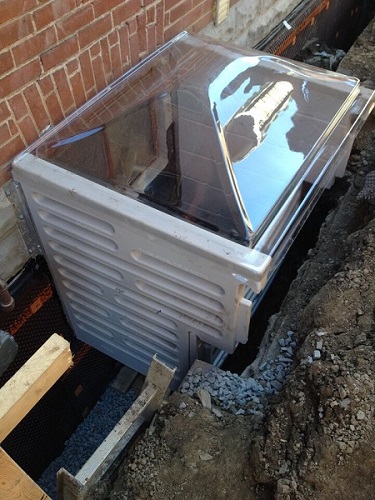
Window Well Placement: The window well is installed outside the newly placed window, ensuring it is properly attached to the foundation wall and provides the necessary clearance.
Drainage System: A layer of gravel is added to the bottom of the window well. The weeping tile system (as described in the building code section) is put in place to direct water away from the foundation. This might involve connecting to an existing perimeter drainage system or a sump pump.
Backfilling: The area around the window well is backfilled with appropriate materials, ensuring proper grading away from the foundation to prevent water from pooling.
Step 5: Finishing and Sealing
The final touches complete the project, both aesthetically and functionally:
Interior and Exterior Trim: Interior and exterior trim are installed around the window to create a finished look and to further seal any gaps.
Final Sealing: All seams are caulked to ensure a completely watertight installation.
Window Well Cover: If desired, a window well cover is installed. This cover should be sturdy enough to prevent debris and accidental falls but easily removable from the inside.
Landscaping: The area around the window well is landscaped, ensuring the ground slopes away from the foundation to promote effective drainage.
DIY Installation
Pros:
- Cost Savings: The most appealing aspect of DIY is the potential to save on labor costs, which can be a substantial portion of the overall project expense.
- Flexibility: You can work at your own pace and schedule the project around your availability.
Cons:
- Safety Risks: This project involves heavy tools (like concrete saws), extensive excavation, and working with structural elements. Without proper training, experience, and safety gear, the risk of serious injury is high.
- Complexity: Beyond the physical labor, understanding and adhering to precise building codes, dealing with unforeseen obstacles like underground utilities, and ensuring proper waterproofing and structural integrity are complex challenges for the average homeowner.
- Potential for Errors: Mistakes in measurement, cutting, framing, or drainage can lead to costly repairs, structural issues, code violations, or persistent water problems, ultimately negating any initial cost savings.
Professional Installation
Pros:
- Expertise and Experience: Professional contractors specialize in egress window installation. They possess the knowledge, skills, and experience to handle all complexities, ensuring a successful and safe installation.
- Code Compliance: Professionals are intimately familiar with local building codes and permit requirements, guaranteeing that your installation meets all necessary safety and legal standards. This prevents potential legal issues and costly re-dos.
- Efficiency and Proper Equipment: Professionals have access to specialized tools and equipment, allowing them to complete the job efficiently and with precision, minimizing disruption to your home.
- Higher Quality and Durability: A professionally installed egress window is typically of higher quality, ensuring longevity, optimal performance, and effective waterproofing.
- Warranties and Support: Many professional installers offer warranties on both materials and workmanship, providing peace of mind and a point of contact for any post-installation issues.
- Increased Home Value: A properly installed, code-compliant egress window maximizes the value added to your home.
Trust Conterra for Code-Compliant Egress Window Installation.
When it comes to something as critical as egress window installation, choosing an experienced and reliable professional is key. Contact Conterra Foundation to discuss the best solution for your egress needs.