How to Complete a Stone Foundation Wall Repair

Your home’s foundation plays a pivotal role in keeping your home sound and stable. So, when you notice problems, it’s best to act fast to find a solution. Here’s what you need to do if you notice that your stone foundation wall requires repairs.
Stone Foundations Often Found in Homes 100+ Years Old
Modern concrete foundations involve pouring concrete in a single batch, which is not possible in homes featuring stone foundations.
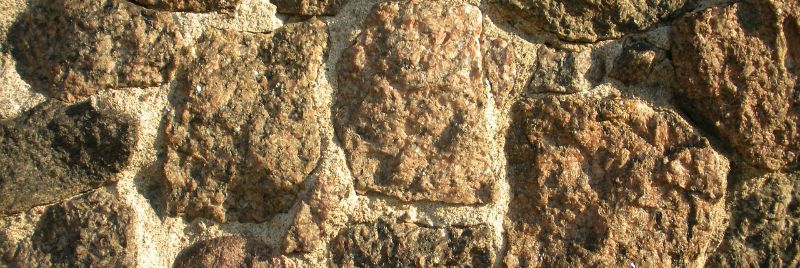
In stone foundations (or rubble foundations), mortar is the support that holds numerous stones together. Although they are meant to be strong and last many years, the joints between the stones often require repairs. If repairs are not completed right away, problems that start in the home’s foundation will eventually travel upwards – potentially causing massive damage.
Setting the Groundwork for a Smooth Stone Foundation Repair
To see exactly what you’ll be dealing with, you will first have to remove anything that blocks your view of the stone, even drywall.
Like any repair work, having the right tools at your fingertips makes the job go that much easier. For a stone foundation repair, you’ll need a chisel, mortar, hydraulic cement, a trowel, spare stones and a vapour barrier.
Now that your stone foundation wall is exposed, and your tools are gathered, you’re ready to begin repairs.
Step #1: Complete an Inspection
To find out which repairs are necessary, an initial inspection will need to be completed.
Check the walls for signs of any damage. Are all the blocks intact, with no cracks visible? How do the joints look between the stones? Does the mortar need to be repaired?
If there are any loose stones or mortar or missing mortar, repairs are necessary. For cracks that are found in the stone or mortar, an investigation into the cause of the cracks is necessary before a repair can begin.
Step #2: Replace Stones
Next, you’ll need to determine the type of stone that was used in your foundation so that the appropriate mortar can be selected.
Chisel the mortar away from the stone that has loosened until it can be pulled from the wall. Clean around the exposed area on the wall and choose an appropriately-sized stone to fill the space.
Following the manufacturer’s directions, mix the mortar. Use a pointed trowel to apply a thick coating of mortar on the bottom of the opening for the stone to set on. After sliding the stone through the hole, rest it on the fresh mortar. Force mortar around the stone on the remaining sides with the trowel, making sure it goes completely through to the other side.
Make your mortar look professional by cleaning along the mortar line.
Step #3: Fill Cracks and Complete Mortar Joint Repairs
Apply a substantial amount of hydraulic cement into each crack so that it’s filled.
Any mortar that has deteriorated will need to be replaced. Chip the failed mortar out about two to three inches deep and replace the scraped away old mortar with a new mix. Clean the stones, then use a trowel to push new mortar into the joint. Clean up any excess with the brush.
If you’re not confident that you can complete a solid stone foundation wall repair, it’s best to call in the experts. Call us today for more information about our services.